How to calibrate the battery of a laptop PC in Windows 10, 8.1 and Windows 7? This is what we will see in this article. In principle, the method is the same, regardless of the device you use. Whether it's a MacBook or laptop running Linux or Windows.
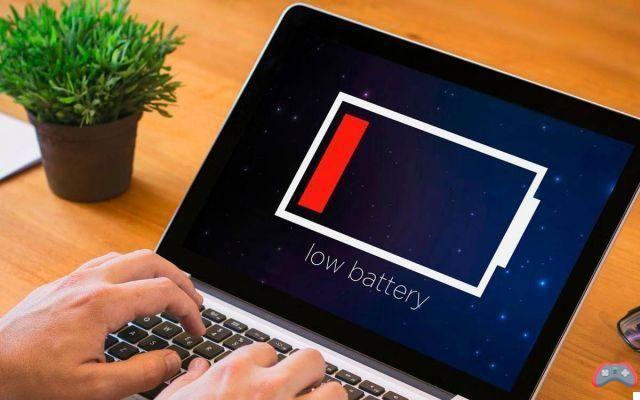
Over time, battery life naturally degrades. But it often happens that the battery level indicator plays dirty tricks by displaying percentages that are out of step with the actual autonomy. A microprocessor incorporated in the batteries makes it possible to know in real time the quantity of energy available to them. It is a component on which the operating systems are based to provide visibility on the level of autonomy that remains to the Laptops, smartphones and any device.
If your computer is showing a strange change in the battery level, it is not necessarily due to the degradation of the actual autonomy. Maybe it's a sign that it's time to calibrate the battery from the PC.
How to calibrate a laptop battery?
Lithium-ion laptop batteries most often encounter calibration problems. And for good reason, we are more inclined to leave them plugged into the mains most of the time. Some users even hate to see their battery level drop below 50%. This kind of behavior can disrupt the indicator which ultimately no longer manages to correctly assess the amount of energy that it actually stays in the battery.
Consequences, it can happen that your PC starts to turn off all of a sudden, without warning of a low battery level. For example, the percentage can go from 30 to 0% in just a few minutes or even seconds. Irregular evolution of the battery level display is due to a calibration problem. Here's how to calibrate the battery of a Windows laptop.
Windows 10: steps to recalibrate your PC's battery
The principle is the same as when it comes to calibrating the battery of a smartphone or other device using a Li-ion battery. It is based on a complete discharge and recharge cycle.
- Plug in the device and let the charge level rise to 100%
- Go to Windows power management settings by right-clicking on the battery icon. Alternatively, go to Settings> System. In the Menu on the left, click on Power and sleep. In the menu on the right this time, click on Additional power settings.
- On the power options page, click Choose when to turn off the screen in the left menu

- Click on “Change advanced power settings”, then expand the options in the “Battery” section. Make sure that "Critical Battery Action" and "Critical Battery Level" are set to "Hibernate" and 5% respectively.

- Unplug the charger and let the PC run until it automatically hibernates. During this time, you can continue to use your computer normally.
- Once the PC sleeps, plug it back in, turn it on, and let it charge to 100% without unplugging it in the meantime.
It does not take more to calibrate a battery under Windows. And if you plan to perform the operation at a time when you are not using your computer, make sure that it is not set to automatically go to sleep after a few minutes. To do this. Always in power options (Choose when to turn off the screen), set the "Turn off the screen" and "Put the computer to sleep" actions to "Never" when the computer is on battery power.

By doing so, the PC will only automatically hibernate when the battery reaches 5%. Don't forget to return to set the screen off and automatic standby time to the desired time once the process is complete. And to finish, it is important to repeat this process regularly. No periodicity is required. However, we advise you to do it once or three times a year.
The editorial advises you:
- Laptop battery: should the charger be left plugged in all the time?
- Windows 10: How to turn Windows Defender on or off
- How to install Windows 10 on any Mac very easily


