If you're wondering how to take a screenshot on a Mac, you've come to the right place. We will see in this article the different options for taking screenshots on macOS. Especially since since macOS 10.14 Mojave, intuitive tools for capturing screen images or videos have been integrated.
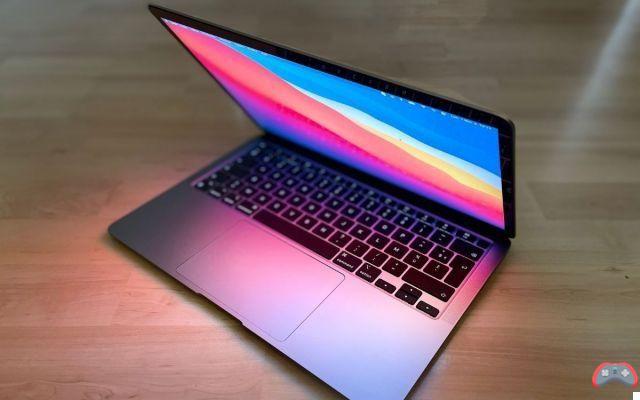
There are several options for making different types of screenshot on mac (MacBook, MacBook Air, MacBook Pro, iMac, etc.). If you are using the latest version of the system, the screen capture tool has an intuitive interface offering different capture options. It's up to you to choose the ones that suit you and proceed with the recording of the screen as an image or video capture.
How do I take a screenshot on macOS?
On macOS Mojave and later, simultaneously press the keys Shift ⇧ + Command (Cmd ⌘) + 5. You will find on the screen all the options you need to take any type of screenshot.
Full Screen Capture
Click on the first icon  at the interface level. The cursor takes the form of a camera. Click anywhere on the screen to take a full screenshot of it, make edits as needed, then save the image.
Screenshot inside a window
Click on the second icon  if you want to take a screenshot of a window. The cursor here takes the form of a camera. Click the target window to capture only its contents. Make changes then save.
Take a snapshot of a bounded area
Click on the third icon  if you want to screenshot a specific area. The cursor takes the form of a camera. Click in the upper left corner of the area to be bounded then drag the cursor to the lower right corner to draw the area. Click on capture in the menu options to perform the capture. Make the changes then save.
You can also do Shift ⇧ + Command (Cmd ⌘) + 3 to take a quick full screenshot and Shift ⇧ + Command (Cmd ⌘) + 4 to select part of the screen only.
How to take a video screenshot on macOS?
To take a video screenshot on macOS Mojave, always do the keyboard shortcut Shift ⇧ + Command (Cmd ⌘) + 5. Video capture options start from the 4th icon  . Click on it and then on the button Save to the right of the menu to start a video capture of the entire screen. Click the fifth capture icon to mark a fixed area of the screen that you want to capture video from. To stop video recording, do Command + Control + Escape (Esc).
The editorial advises you:
- How to take a screenshot
- How to take a screenshot on Windows 10?
- Mac: how to create a bootable USB drive in macOS?


