Google Maps is a feature packed tool. One of them is to create a complete map to plan a vacation, a trek on foot, by bike, or by car for a road trip. The set is very complete and we will show you here how to do it.
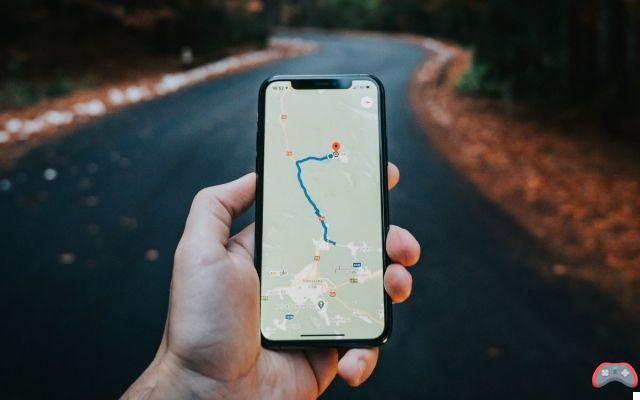
If you need to create a complete travel itinerary on Google Maps, this guide is made for you. This can be useful if you are planning to go on a road trip this summer or need a solid itinerary to build on, also to work out with your loved ones or share with your friends.
Google Maps is a very complete tool. You can create your own map, including one or more fully personalized routes, identifying all the museums, monuments, cafes and other places you want to visit. Or, write little notes next to each location and change the colors and icons of each pin.
But then, how do you plan a complete route on Google Maps? We tell you everything here.
See also: Google Maps now shows the best route to save fuel
How to prepare a road trip on Google Maps?
Create a new card
To plan a road trip using Google's navigation app, you'll need to create a map. Here's how. Go to Google Maps, if possible on a browser from a computer for more convenience.
- Click on the Google Maps menu, top left (three horizontal dashes).

- Select the tab Your addresses.

- A menu will appear. Click on Cards. Then on Create a map, downstairs.

- A new blank map opens. Click Untitled map in the top left or the three little dots to give your map a title and description. Click Save once the title and description are completed.

Once you've named your map, you're ready to pin the stops and plan your road trip. Keep reading to learn more about adding and customizing location pins.
See also: Google Maps: how to activate satellite view on iOS and Android
Add location pins
A road trip contains many stops, whether for points of interest (museums, historic sites) cafes, restaurants, hotels, etc. It is therefore essential to prepare these stops in advance. Here's how to add stops to your Google Maps by pinning their locations.
- Type the name or address of the location in the search bar. Select the correct location from the drop-down menu. Google Maps will then drop a green marker below a small text box containing the address details. Click on Add to map to save the location. The green marker will turn blue. You will almost always pin locations using this method.

- Once you've saved your pins to the map, they're blue by default. But you can customize a pin by changing the color, icon style, description, and title. Just click on the logo resembling a paint bucket. You can even add photos or videos if you feel like it.

To edit the location title, click Edit (the pencil icon) in the text box. You can also add notes in the area Notes. Use the notes area to add more details on finding trailheads, hiking logistics, and more.
To add media (i.e. photos or videos), click Add a picture or video (the camera icon) in the text box. You can also add your own photos and videos if you want to create a map to share with others.
To delete a pin, click it, and then click the trash can icon. You can also find even more icons by clicking on More icons when you edit a Pin.

See also: Google Maps: how to activate the new dark mode?
Add layers to your trip on Google Maps
Google Maps layers are very useful for organizing your travel itinerary. But what is a layer? A layer in Google Maps is, by definition, a way to hold arbitrary geospatial data. In other words, each layer can be used to display different types of information on your map.
You can dedicate different layers to different types of places like restaurants, cafes, hotels, hiking trails, etc. Or you can dedicate layers to different days of your trip. Or you can stick to one layer.
- To add a layer, click Add a layer. Here we have two layers: the first is named Day 1, the second Day 2, to organize our map in this way.

- To modify a layer, click on the three small dots next to. For example, you can rename it.

Add directions to your Google Maps route
What's the point of creating a route on Google Maps without any route? Here is the most important part of your planning, adding directions.
- To add a route to your Google Maps, click Add a route (the arrow icon) below the search bar. Then type the name of your place of departure in the search bar. It will be added at the bottom left. A new layer will appear: you cannot add directions without adding a new layer.

- Under your new layer, to the right of tab B, type the name of your arrival location then select it to have Google Maps calculate your route. A blue road will then appear. If Maps can't find the route, change one of your two locations (or both).
 Origin directions will only give you the option to add points A and B. To add more destinations, click Add destinations. You can add up to 10 destinations.
- To choose between routes by car, on foot or by bike, click the Route button in the layer (the blue car icon). Then click on the appropriate mode of transport. The route will automatically update.

- You can find your detailed itinerary by clicking on the three small dots then on Detailed instructions.

- As you can see here, this will give you the full route from point A to point B, just like using Google Maps.

Google Maps, on the other hand, will automatically calculate the shortest route between locations. But you can easily change route if you prefer to take another (i.e. to take the most scenic route, avoid tolls and highways, etc.).
- To adjust the route between two points, place your cursor anywhere along the blue line. Your cursor will change from a hand to an arrow on a white dot. A dialog box will say "Drag to edit route". Click and drag the white dot over the desired road or highway on the map.

See also: Google Maps: 10 features to make the most of the application
How to share your Google Maps map?
Your complete itinerary or road trip is finally over, you have spent hours (even several days) on it and now you want to share it with others. You may want to get help from friends to plan your road trip. Here's how.
- To share your Google Map, open the map and click Share in the gray bar above the layers. You can click the first button to allow other people to edit this card. Copy the link given below and send it to your friends for them to access. You can also share it on Drive.

To embed your map on a website, make sure your sharing settings are set to Public. Click on the menu (the three dots) next to the map title and then click on Embed on my site. Copy the HTML code and paste it into your page's source code. You can also print your road trip by clicking on Print the map.

And that's it, we're done. Of course, Google Maps is full of options of all kinds to set up your itinerary down to the smallest detail. With this tutorial, we have given you the outline, the most important menus so that you can get started. Happy planning!
Why use Google Maps for a travel itinerary?
First, you can view your Google Maps on any device and on any platform: Windows, macOS, Android, iOS. So you can work on your map on your Windows computer, then resume later on your iPhone.
he is also very easy to share these cards with your friends, which is perfect if you are planning a group trip. Everyone can access the same map on their phone, and your friends can even edit maps if you give them permission.
You can even share these maps with everyone, if you wish it. Just set their privacy to Public and anyone will be able to see them with the link. If you have a blog, you can also easily embed map in your site.
The number of cards is unlimited. You can add different layers to these maps, change pin icons and colors, giving you total control over the appearance of your carte personalized. You can give each pin a different color or use a chat icon for each location you want to visit.
See also: Google Maps: how to delete your travel history on Android and iPhone
The editorial advises you:
- Google Maps: how to activate satellite view on iOS and Android
- GPS without Internet: top 5 applications that can be used offline
- Google Chrome: tricks and hidden browser features


