 Nowadays all laptops have an integrated webcam, as do desktop PC monitors, thus becoming a common accessory for every PC user.
The webcam is very useful, above all, to make video calls and to participate in videochat sessions but, for most of the time, it remains unused, becoming prey to hackers who without great difficulty can create viruses that can activate the webcam without their knowledge. of who is using the computer.
Antivirus should block this kind of infections, but in order not to raise any doubts, it is worth deactivating it, when not in use, and activating the webcam only when needed.
So let's see, in this article, how to quickly activate and deactivate the webcam on any Windows PC and how to use it for try to see if it works well or to take pictures.
ALSO READ: How to add microphone and webcam on PC for video calling
The fastest way to try the webcam on your computer and see if it works with video calling web apps, especially if it has never been used, is by opening the website testmycam which displays what the webcam captures live and also works with the smartphone camera. Once the site is open, select the webcam (videoinput) from the drop-down menu above the video box and start the test. The site also allows you to take pictures and change the image type. You may also notice that Chrome puts a red symbol on the tab that is broadcasting from the webcam.
If you do not see anything, it means that the webcam is not attached or is not correctly detected by Windows.
In some cases, especially on Android smartphones, there may be a permissions problem that prevents the browser from using the camera. Then open the Chrome settings, go to the Site Settings section and check that the permissions to use the camera are not blocked.
Another site to do the webcam test come on Github.
From our website Onlinemictest.com, in addition to doing the webcam test, you can also try the microphone, to see if it works well. Again, grant the website permission to access the webcam and test the camera.
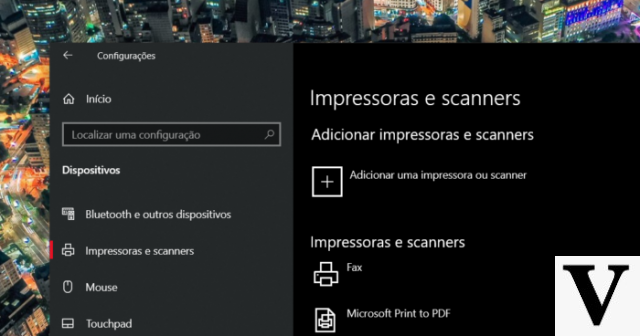
To verify that the webcam is working on the PC, open the control panel, go to hardware and sounds and then open the link devices and printers or, Windows 10, go to Settings and then Devices
Press the right mouse button on the webcam, go to the properties and check, on the hardware tab, if the device is working correctly. If not, you need to install the driver to download from the manufacturer's website. From the Hardware and Sound screen, you can click the device manager link to check if the driver is active. The webcam is under the image capture devices section. From here you can disable the webcam by right clicking on it.
An easy way to test the webcam on a PC is by using theWindows 10 Camera app, which is already installed and you just need to open it to view yourself on video.
To deactivate the webcam and activate it on command when needed, quickly and without making too many turns of windows and settings, you can use the handy program Webcam On Off.
The free tool, only to be extracted into a folder and run, allows you to test the webcam, activate and deactivate it with a click. To disable the webcam, make sure it is not in use by any program or website. Webcam On / Off also allows you to adjust the display settings of the footage during the preview, with buttons to zoom in, out, or take a picture of the image that appears on the webcam and save it on the PC.
The Settings or settings allow you to adjust brightness, contrast, sharpness, saturation, gamma and hue. Webcam On-Off is a useful program for those who often use the webcam connected to their PC and also for those who never use it, to keep it off without having to disconnect it.
ALSO READ: Apply effects to the WebCam, distort the face and play with the light


